Getting Started...
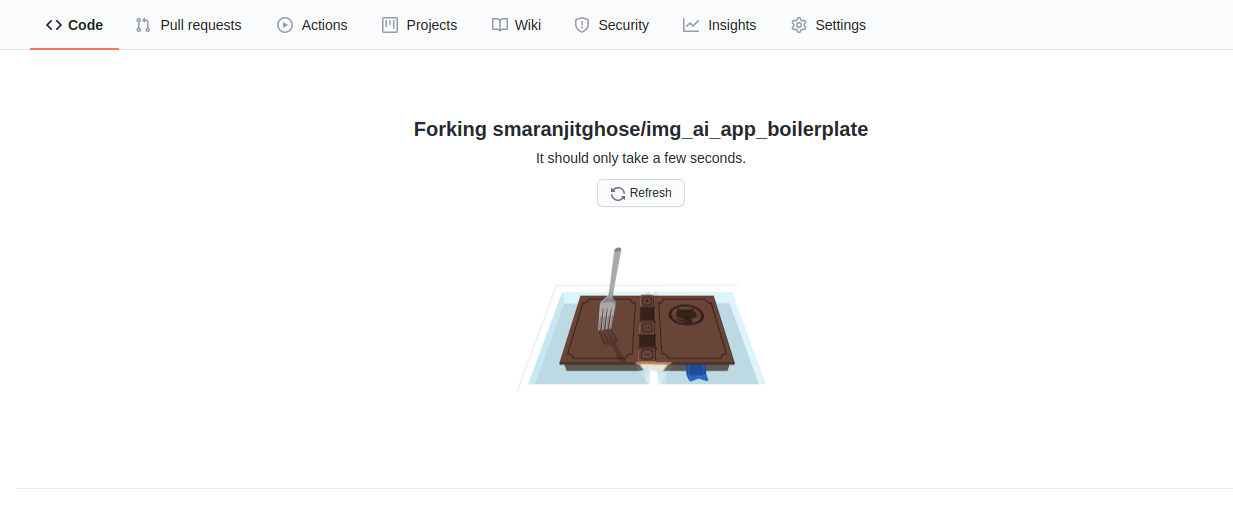
Forking the repository
-
Visit the repository
-
Fork the repository by clicking on the Fork button
Cloning the repository
- Visit the repository
- Copy the link the of the repository by clicking on the clone button
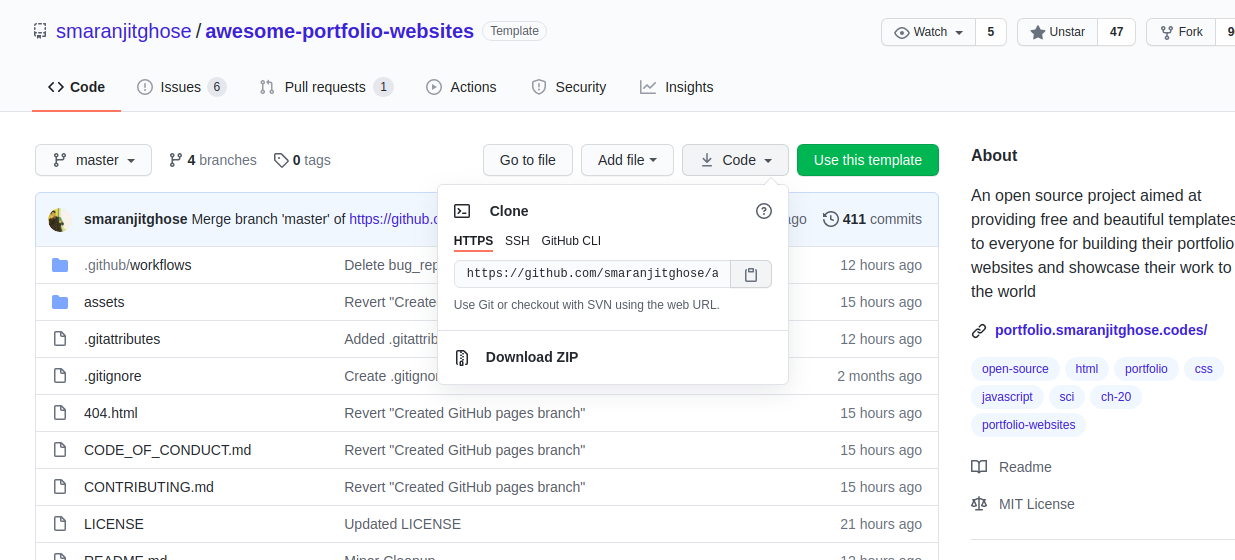
- Open terminal
- Type
git clone https://github.com/smaranjitghose/awesome-portfolio-websites.git
Changing the details
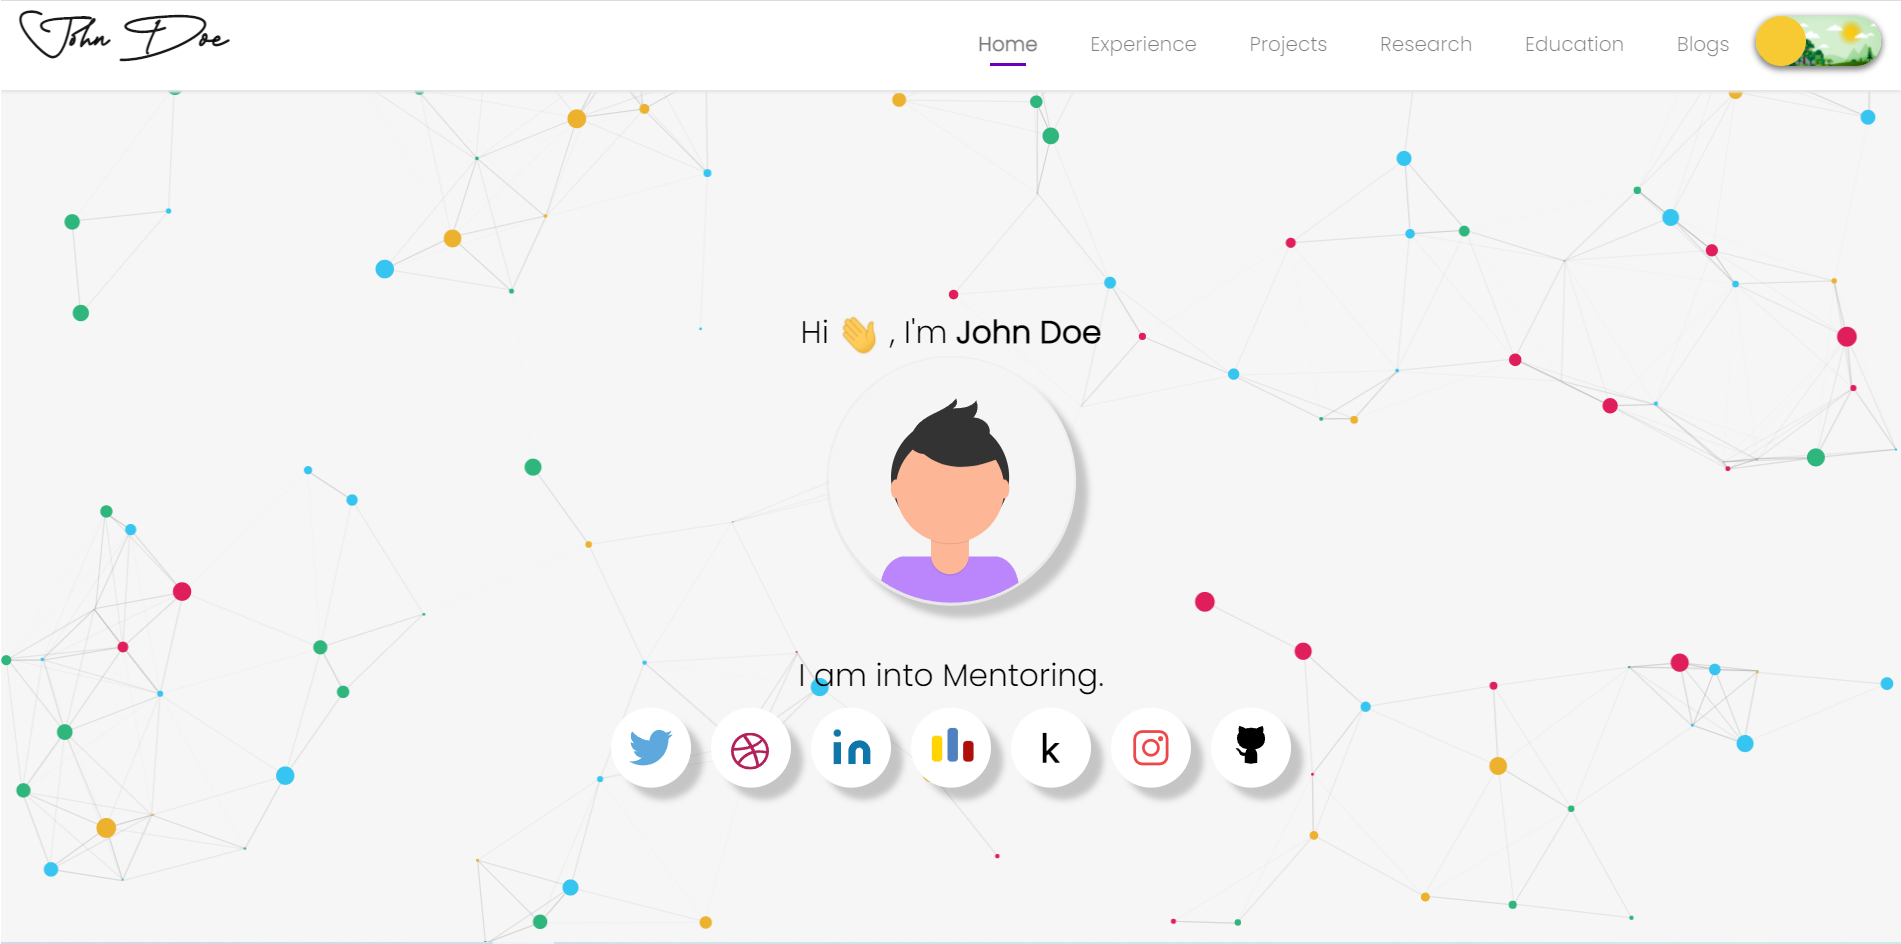
Home Page
-
To add your image on the home page :
- Add your image to assets -> images folder
- Open index.html
- Change the
<img src="">to your image path
-
To change the name on home page :
- Open index.html
- Change the name from John Doe to Your Name
-
To change the interests displayed :
- Open index.html
- Inside
spantag, change thedata-wordswith your interests
-
To add your social media links :
- Open index.html
- Inside
<div class="social-icons">fill up the link to your social media accounts insidehref
Navbar

- To change the name :
- Open app.js
- Under
let header, inside<a class="navbar-brand" href="index.html">, change the name from John Doe to Your Name
Footer
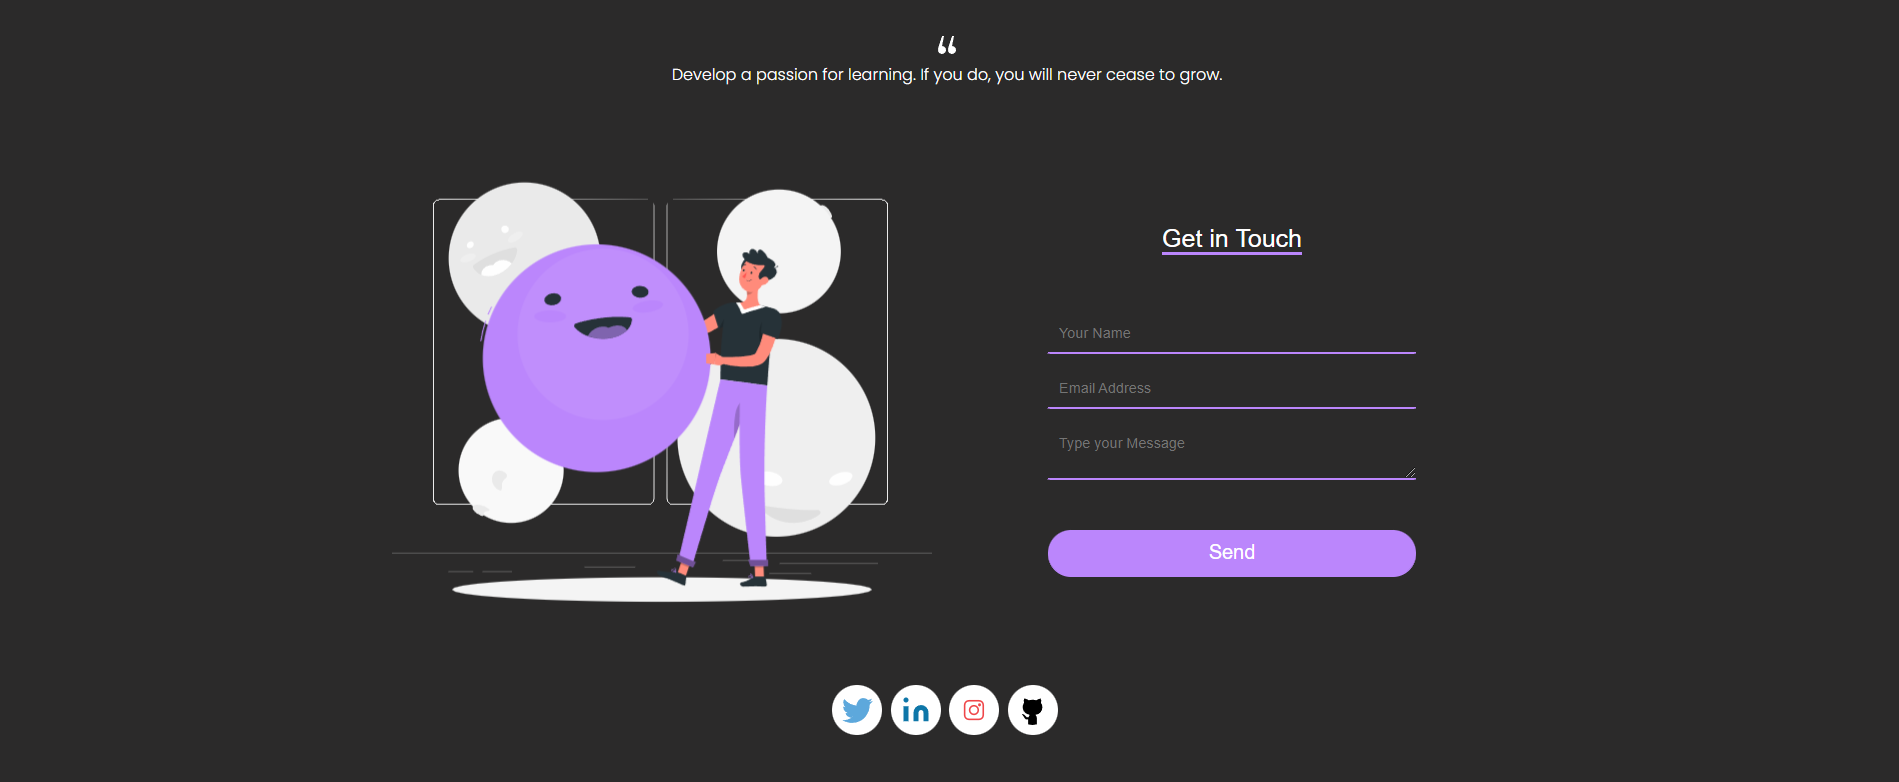
-
To change the quote :
- Open app.js
- Go to
let footer, inside<div class="container-fluid quote-container">, change the quote inside<p class="tag" >from "Develop a passion for learning. If you do, you will never cease to grow." to your quote
-
To add your social media links :
- Open app.js
- Inside
<div class="rounded-social-buttons tag">, under<a class="social-button"fill up the link to your social media accounts insidehref="#"by replacing#. [ For example:<a class="social-button twitter" href="#" target="_blank">Here, replace#with twitter account link]
Contact Form
-
We will use FormCarry to collect the feedback of the visitors on the page.
-
First, create a FormCarry account if you do not have one
- Go to https://formcarry.com/register
- Enter your Email and password
- Click on Sign Up
-
Create a FormCarry Form
- Click on the Add New button
Give it a name such as Portfolio - Copy the form endpoint given to you. example:
https://formcarry.com/s/KljL8nJiRf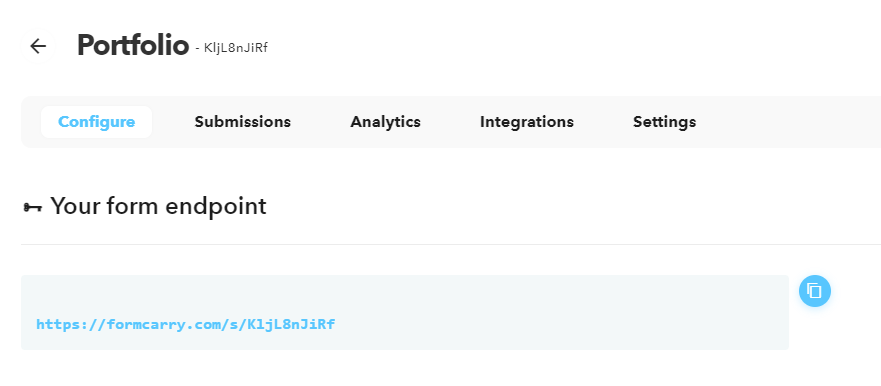
- Click on the Add New button
-
To replace the demo form link with your endpoint
- Open app.js
- Go to
let footer, inside<form name="form1" action="https://formcarry.com/s/BywEPAJNb" method="POST" accept-charset="UTF-8">, change the action attribute from "BywEPAJNb" to your FormCarry endpoint e.g.KljL8nJiRf
-
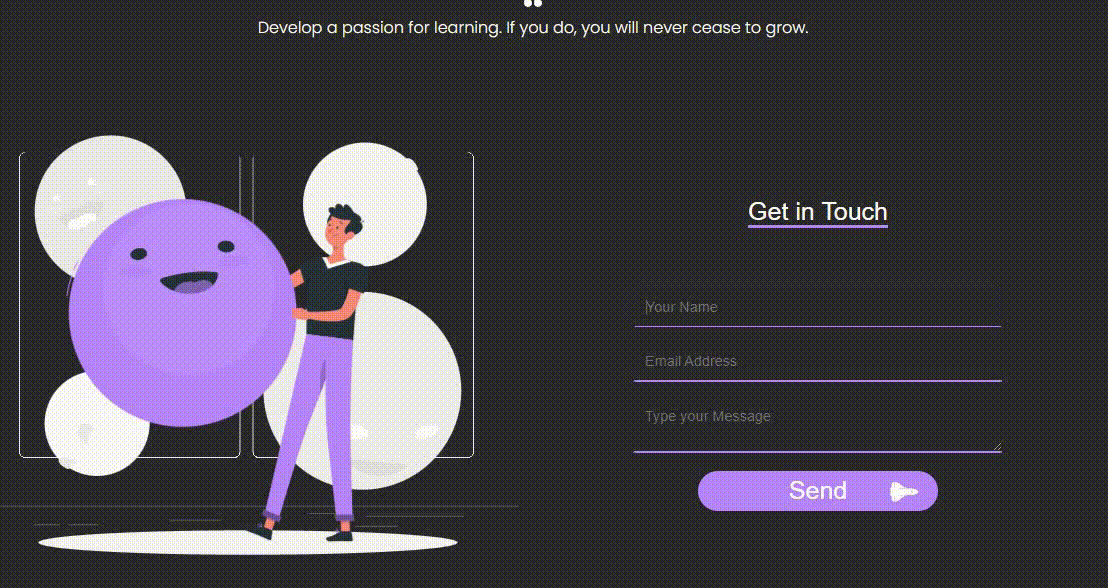
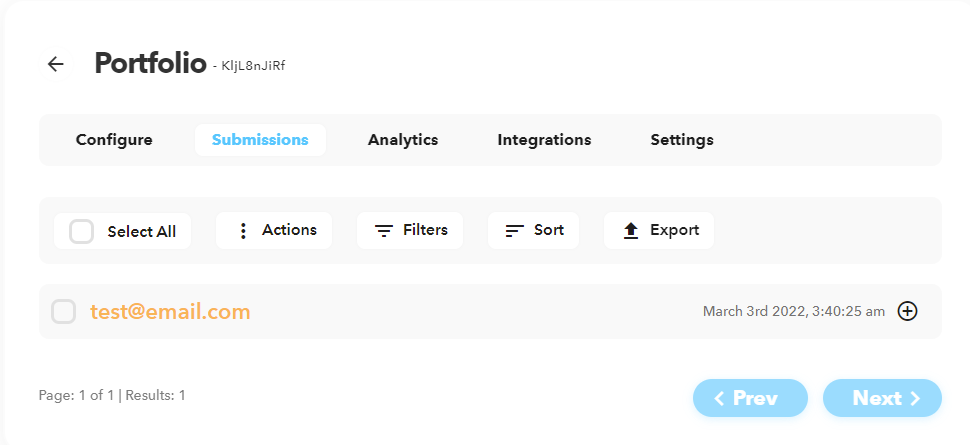
To Test if the form works, send a submission and if you see this, it works!
 And, inside your submissions, you should see the email
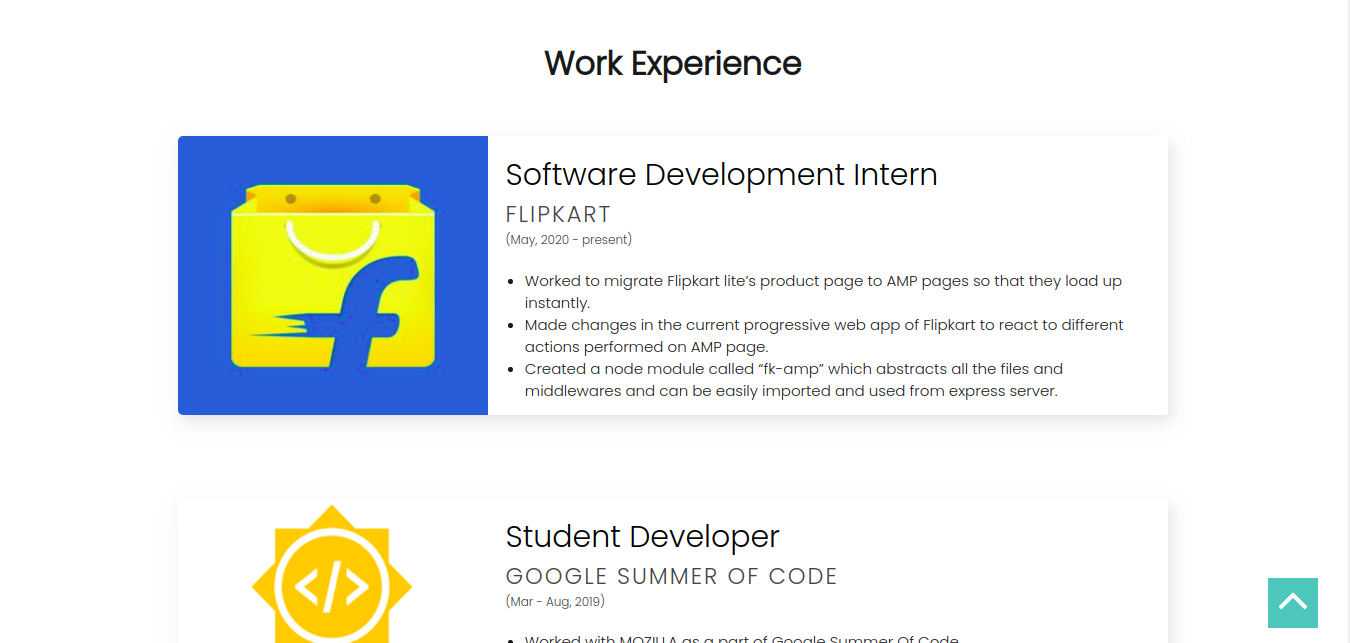
Experience Page
-
To change the work experience details :
- Add your work experience images to assets -> images -> experience-page folder
- Open experience.js
- Under Work Experience Cards heading,
- Change the current title to your position inside
title - Change the current image path to your image path inside
cardImage - Change the current place to your industry/company name inside
place - Change the current time to your duration of work inside
time - Change the current description to your job description inside
desp. [ Let<li>remain]
- Change the current title to your position inside
-
To change the volunteership details :
- Add your volunteership work images to assets -> images -> experience-page folder
- Open experience.js
- Under Volunteership Cards heading,
- Change the current title to your organisation name inside
title - Change the current image path to your image path inside
cardImage - Change the current description to your job description inside
description
- Change the current title to your organisation name inside
-
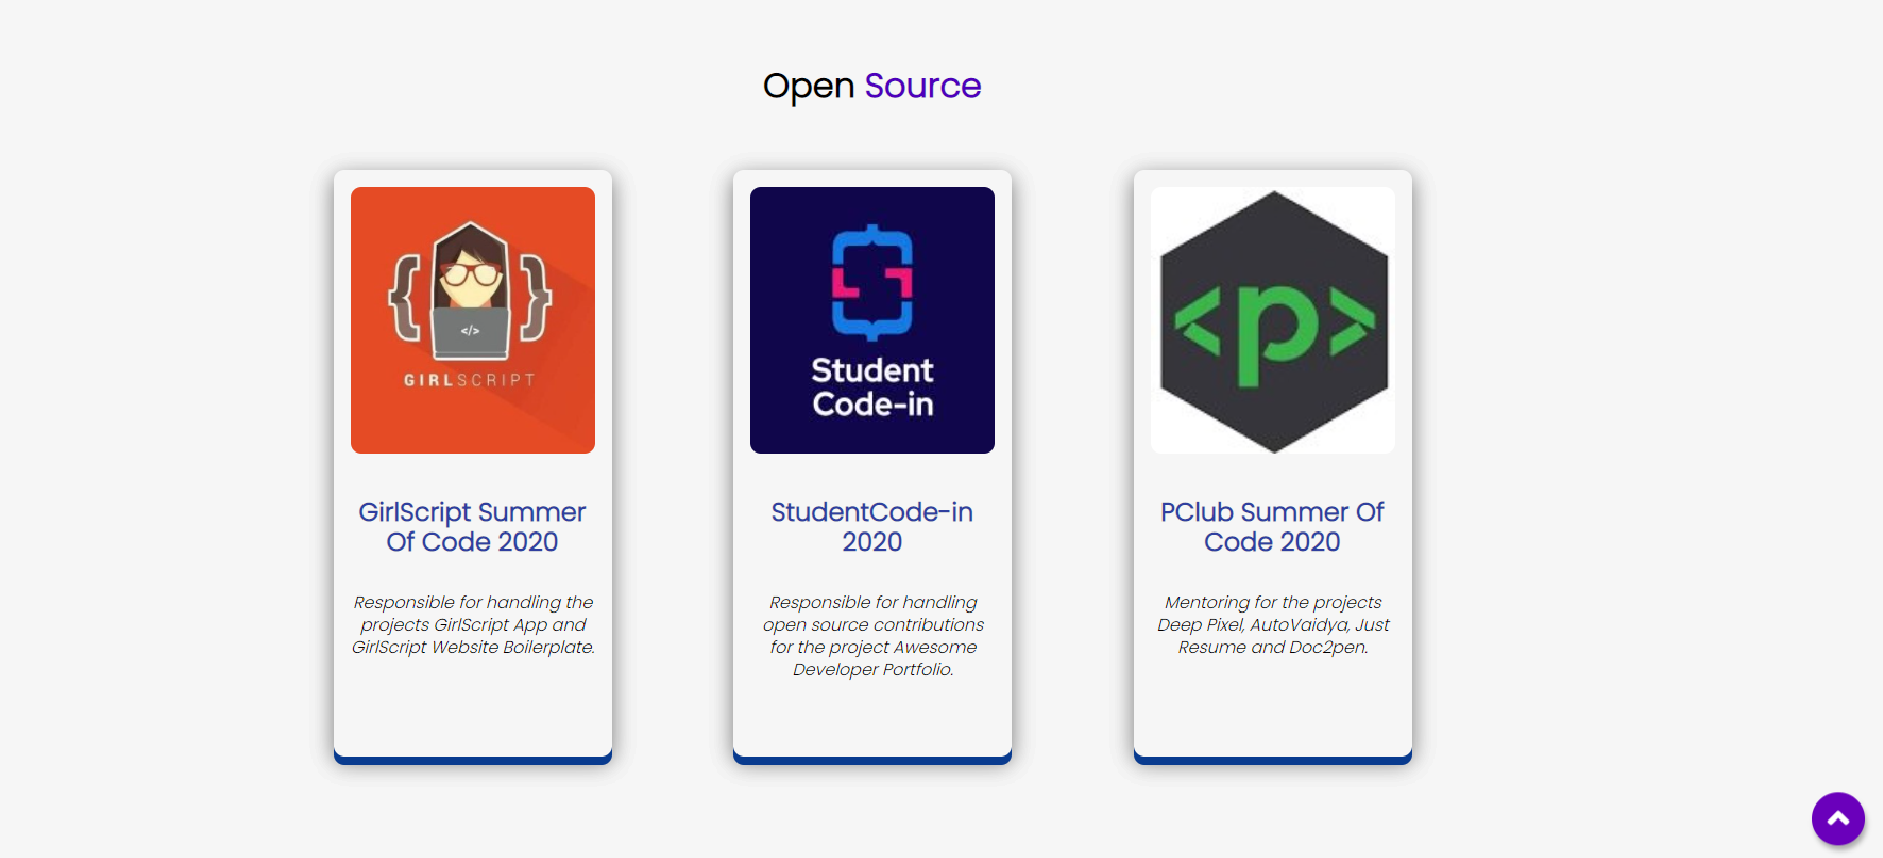
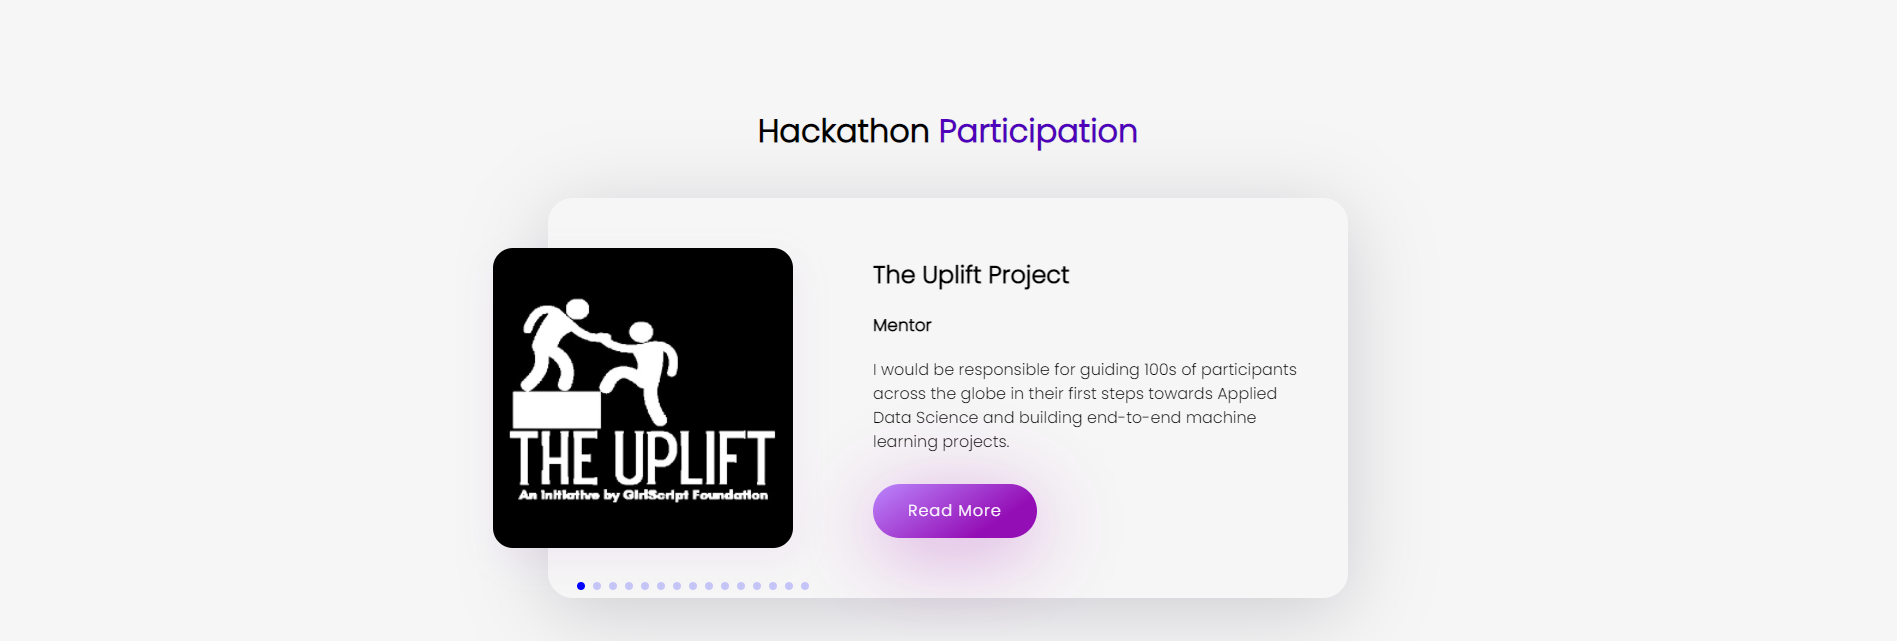
To change the hackathon details :
- Add your hackathon work images to assets -> images -> experience-page folder
- Open experience.js
- Under Hackathon Section heading, in
const mentor- Change the current title to your organisation name inside
title - Change the current designation to the designation under which you participated as, i.e., mentor, judge, team-leader etc, inside
subtitle - Change the current image path to your image path inside
image - Change the current description to your work description inside
desp
- Change the current title to your organisation name inside
Projects Page
-
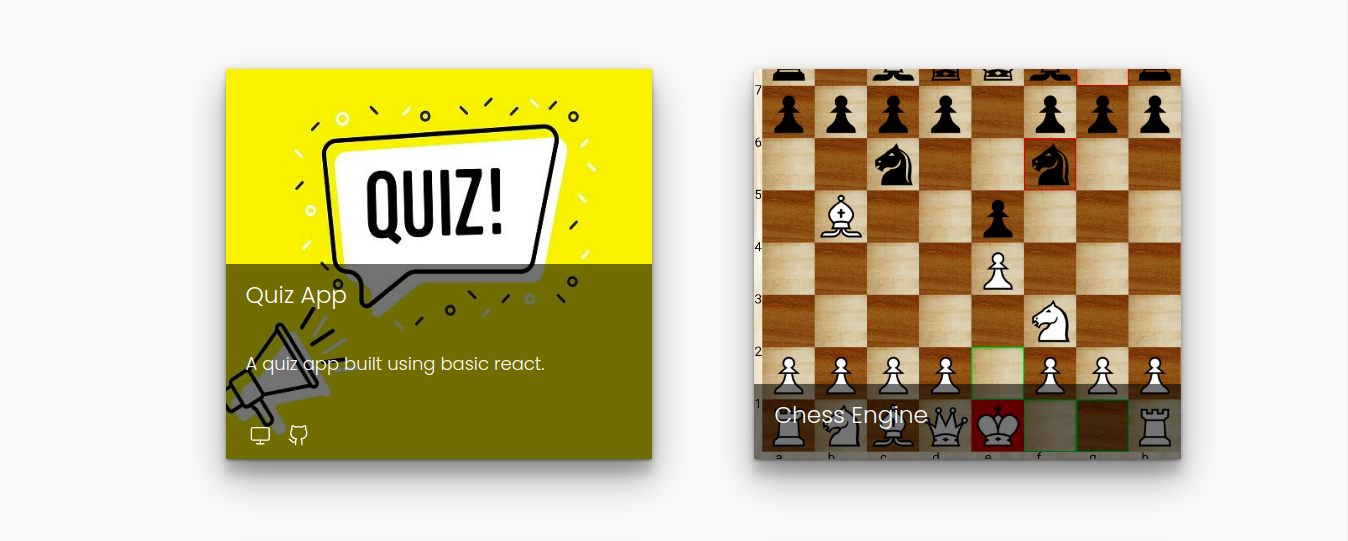
To change the projects details :
- Add your projects images to assets -> images -> project-page folder
- Open project.js
- Under Project Cards heading,
- Change the current title to your project name inside
title - Change the current image path to your project image path inside
cardImage - Change the current description to your project description inside
description - Add the links to images of language or framework used inside
tagimg - Add the preview link inside
Previewlink - Add the github link inside
Githublink
- Change the current title to your project name inside
Research Page
-
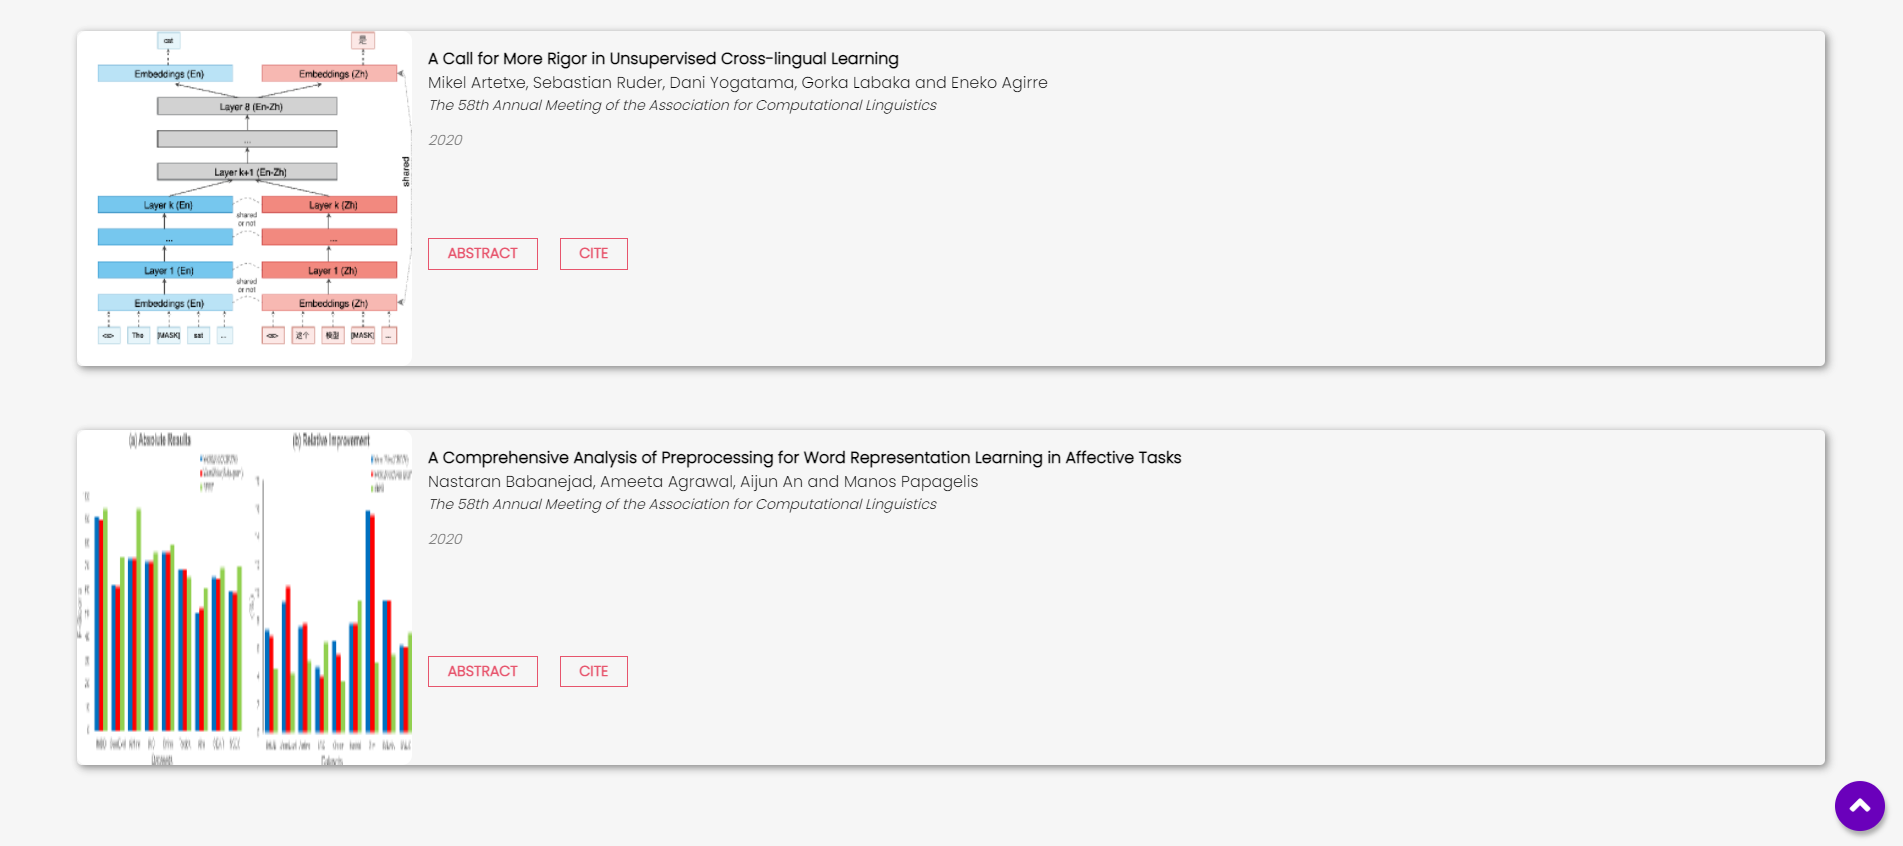
To change the research details :
- Add your research work images to assets -> images -> research-page folder
- Open research.js
- Under Research Details Table heading,
- Change the current title to your research paper title inside
title - Change the current authors to your research paper authors inside
authors - Change the current conferences to your research conferences inside
authors - Change the current research year to your research year inside
researchYr - Change the current image path to your image path inside
image - Change the current vancouver to yours inside
vancouver - Change the current abstract to yours inside
abstract
- Change the current title to your research paper title inside
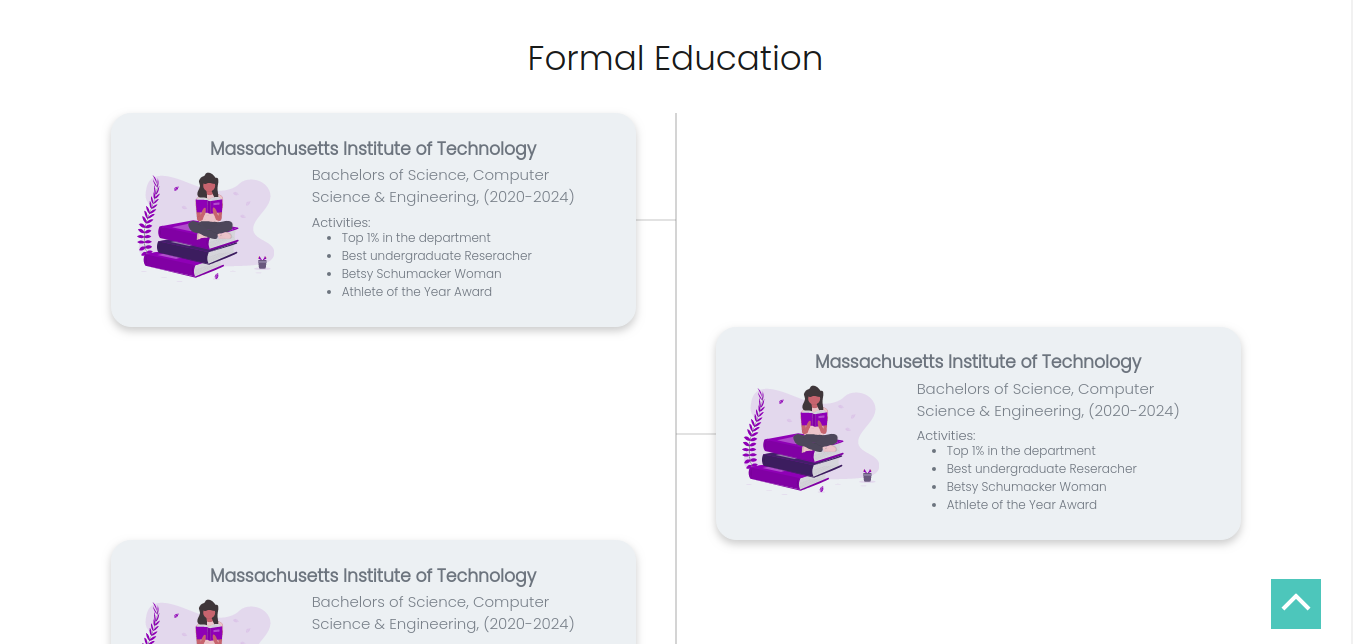
Education Page
-
To change the formal education details :
- Add your institute images to assets -> images -> education-page folder
- Open education.html
- Under Dynamic Education Timeline Cards heading,
- Change the current title to your institute name inside
<h2>tag. [ Example:<h2>Columbia University</h2>replaceColumbia Universitywith your institute name] - Change the current date to the years range studied in the institute inside
<div class="date"> - Change the current specialization or education stream to yours inside
<h6>tag - Change the current list of activities to yours inside
<li>tags
- Change the current title to your institute name inside
-
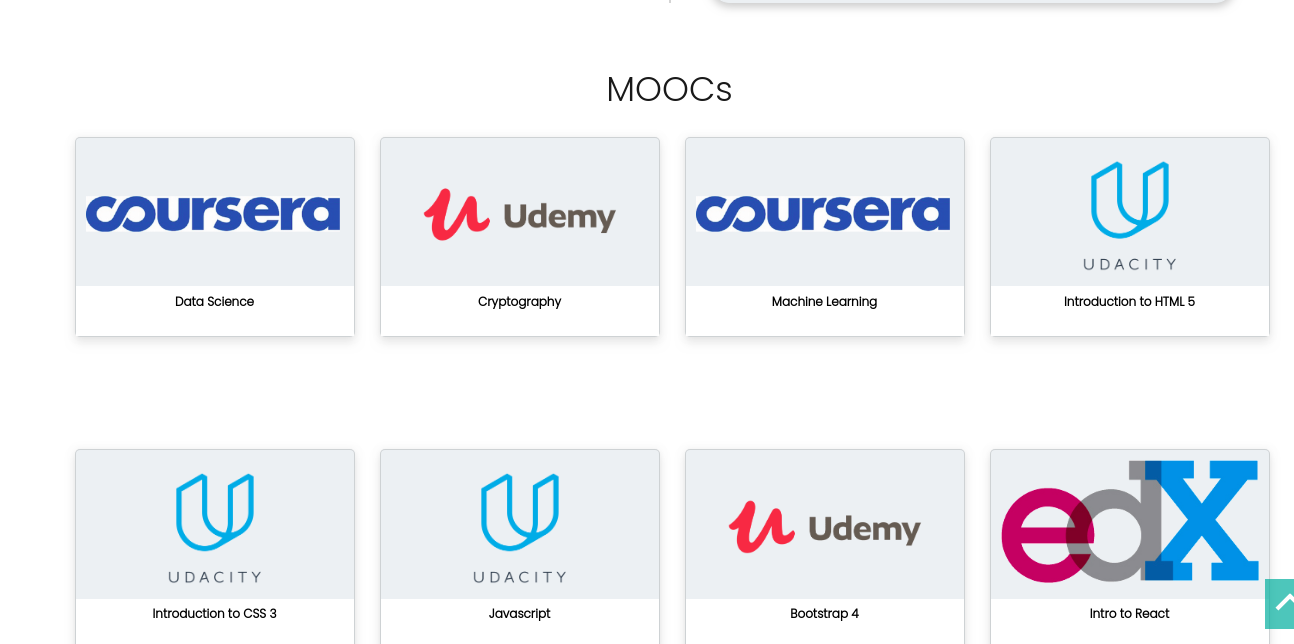
To change the mooc section details :
- Add your MOOCs images to assets -> images -> education-page folder
- Open education.js
- Under MOOCs Cards heading,
- Change the current title to your course name inside
title - Change the current image path to your course image path inside
cardImage - Change the current MOOC link to yours inside
moocLink
- Change the current title to your course name inside
SEO and Miscellaneous
-
Search for
site_nameand update it to the link to your portfolio -
Search for
titleand update it fromJohn Doe | HometoYour Name | Home -
Search for
descriptionand update by writing something about yourself -
Search for
urland update it to the link to your portfolio -
Search for
siteand again update it to the link to your portfolio -
Search for
application-nameand update it fromJohn Doe | HometoYour Name | Home -
Search for
apple-mobile-web-app-titleand update it fromJohn Doe | HometoYour Name | Home -
Search for
summaryand update it by writing somthing about yourself
Final Steps
-
After making all the changes, now it's time to push these changes to your local repository. For this, steps to be followed are :
-
Save the changes you have made till now
-
Open terminal in the file you made the changes
-
Type
git add . -
Then type
git commit -m "Your commit message" -
Then finally,
git push origin master
-