Hosting your Postfolio On Cloud
Netlify

- Sign in to your netlify account or sign up if you don't have an account
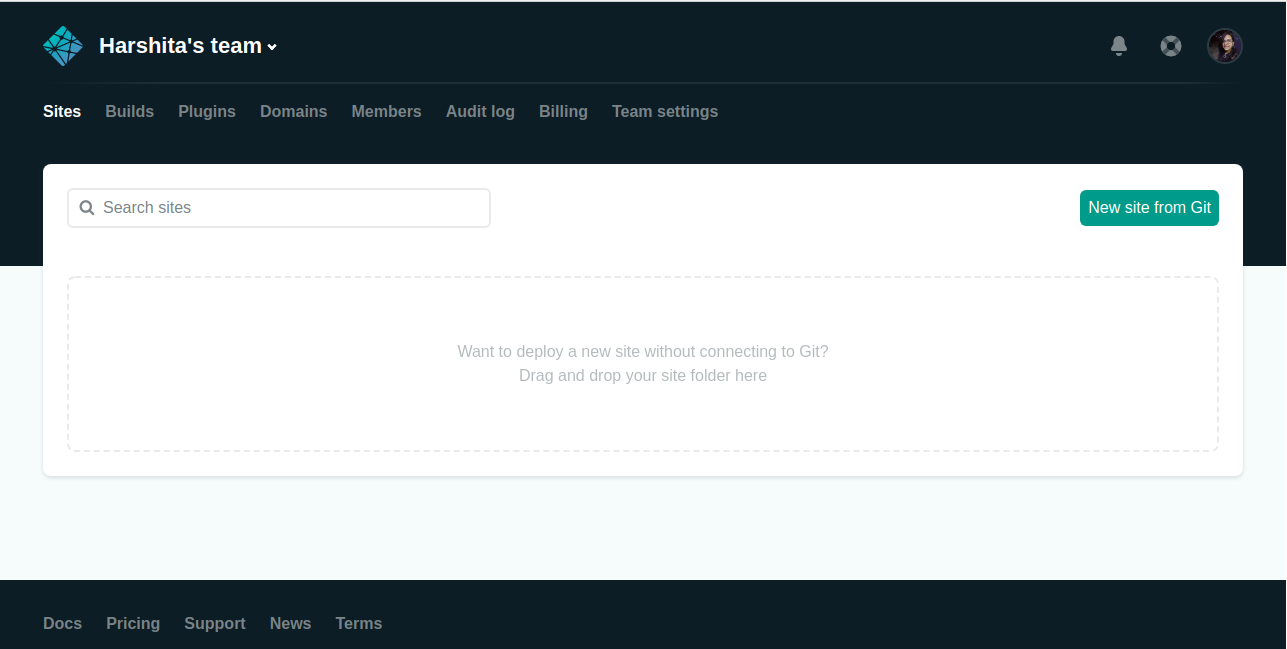
- Click on New Site From Git button
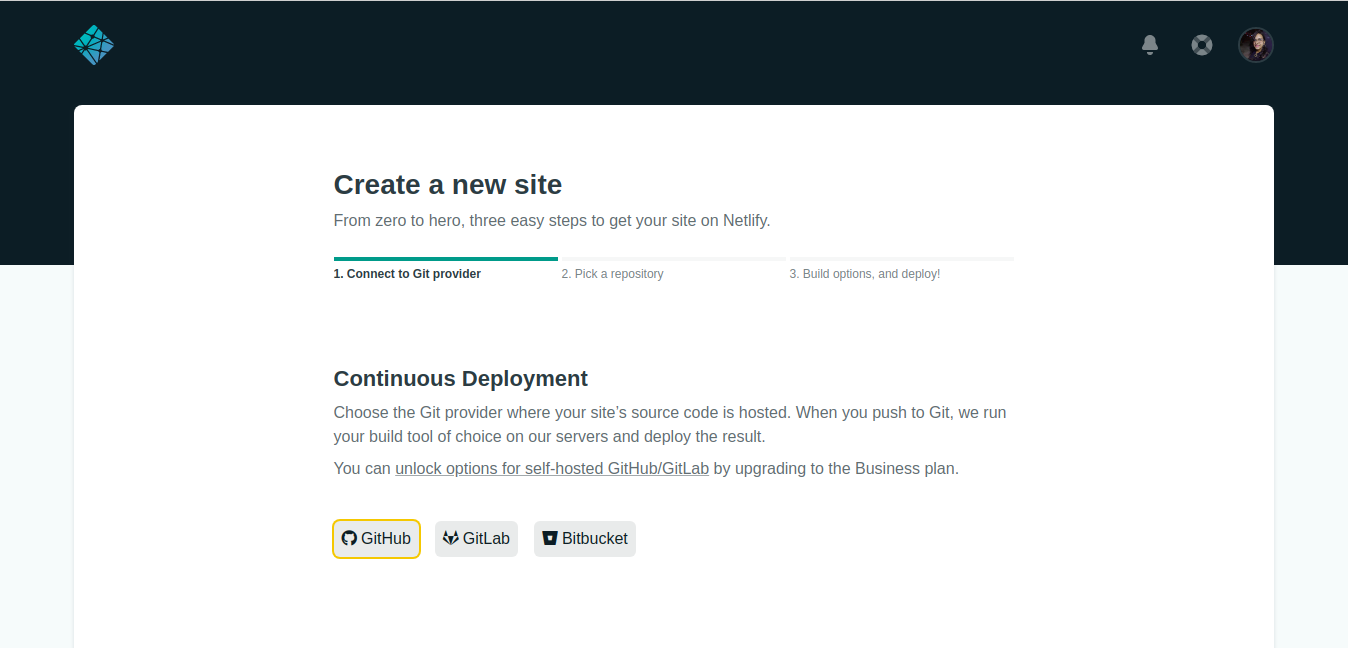
- Select Github option button
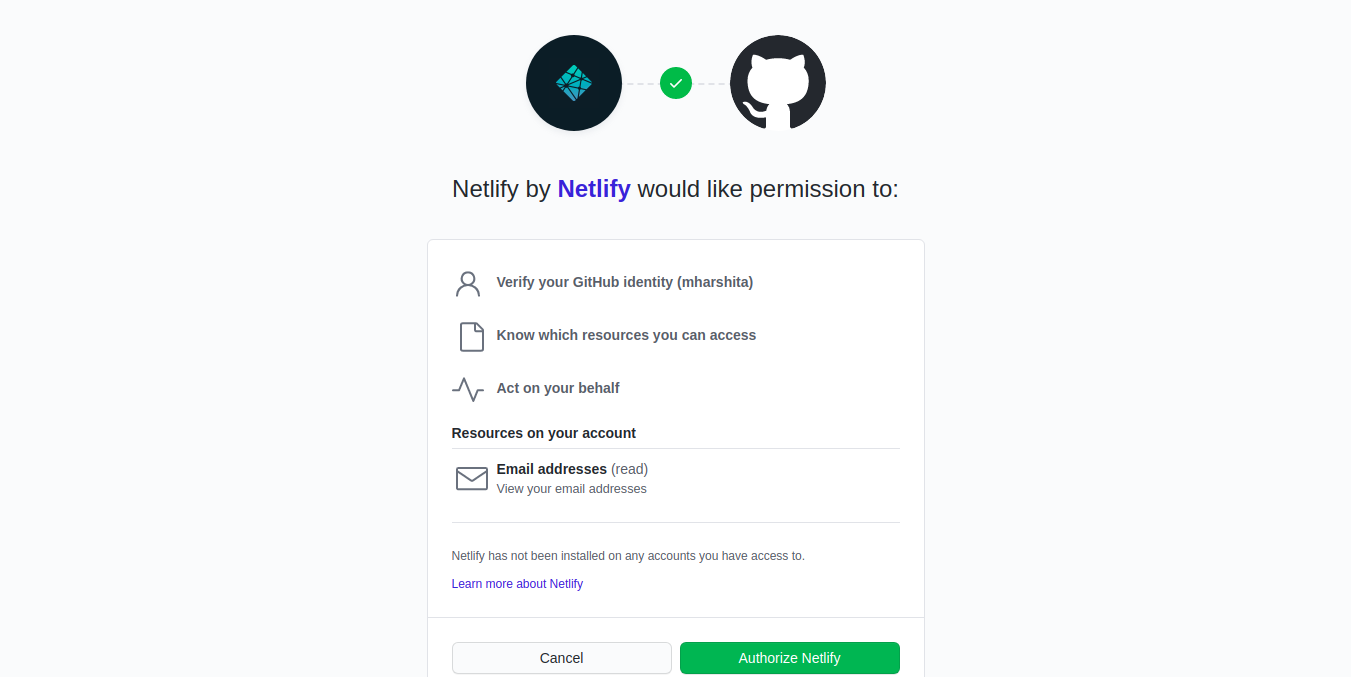
- Authorize Netlify
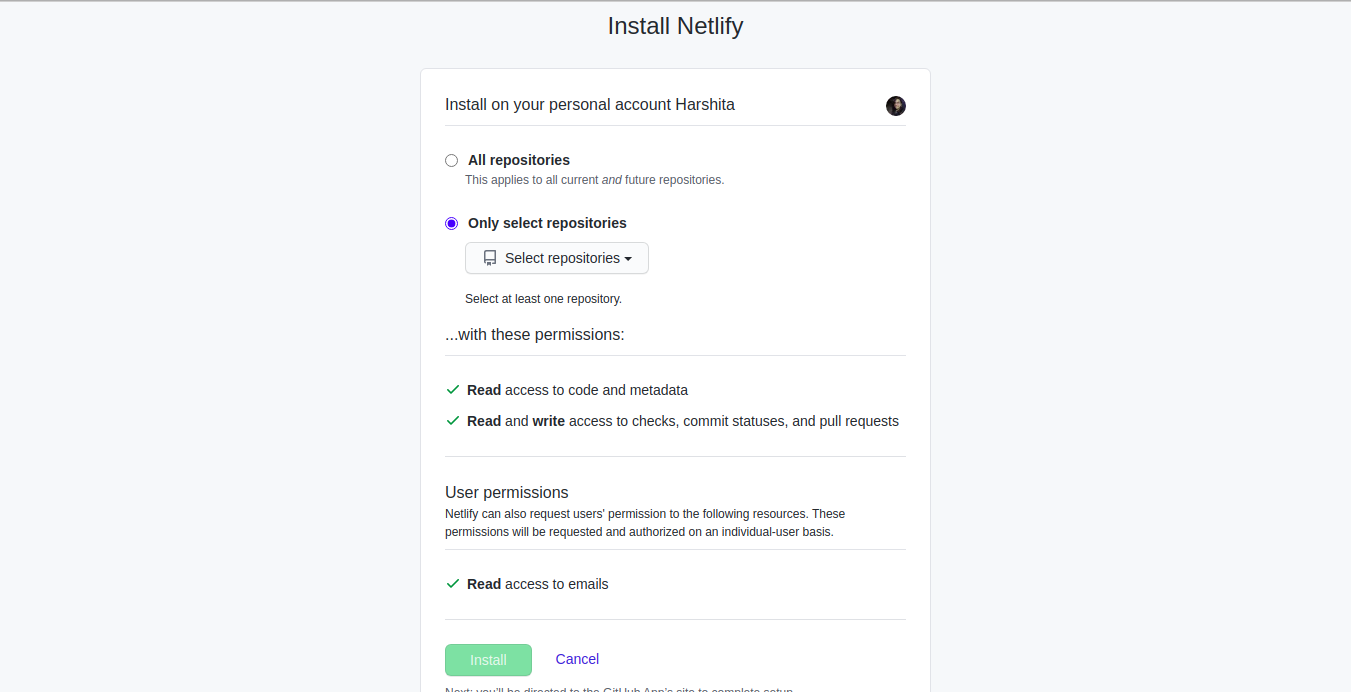
- Select the repository
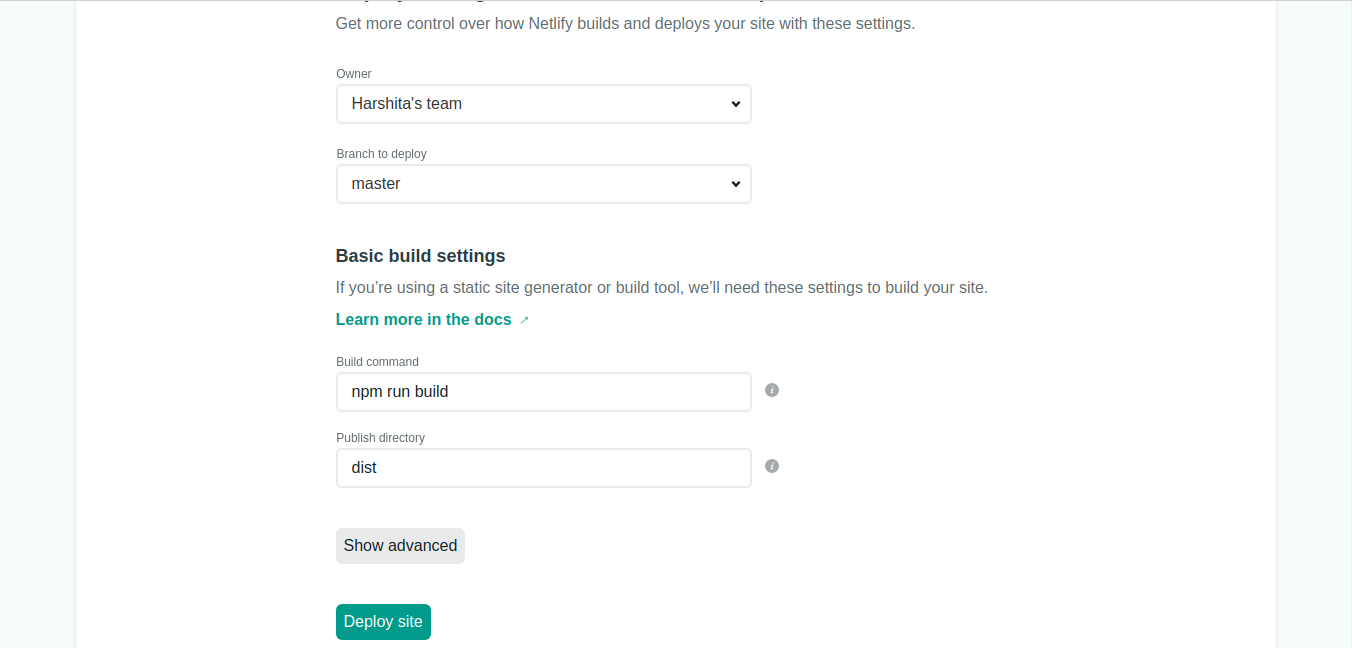
- Configure your settings and click on Deploy Site button
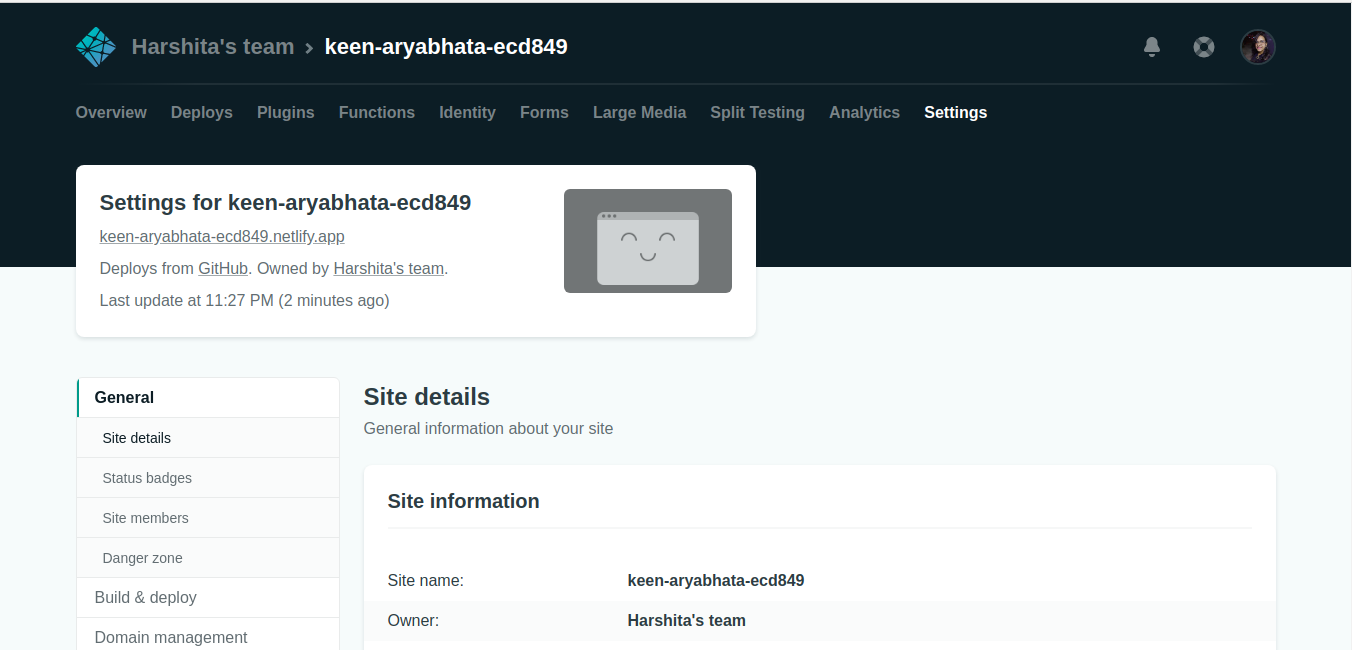
- Netlify will automatically generate a link for your deploy. If you wish to change the link name, click on Change Site Name button and change the link name.
GitHub Pages
-
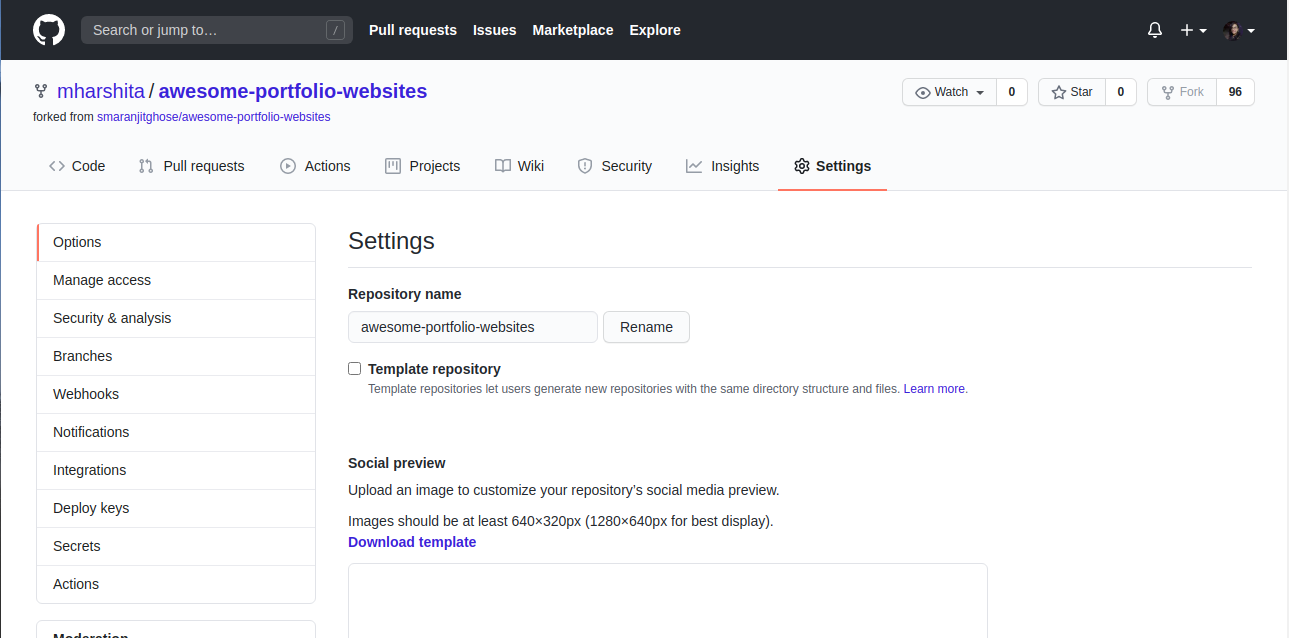
As we have already created a repository and pushed the changes, all we need to do now is rename the repository to
your_username.github.io -
To rename, open your repository, and go to settings and click on rename button
- And your website will be hosted on GitHub!!
Custom domain name for GitHub Pages
-
For setting up custom domain name with ANAME/CNAME files with github pages, follow the following steps :
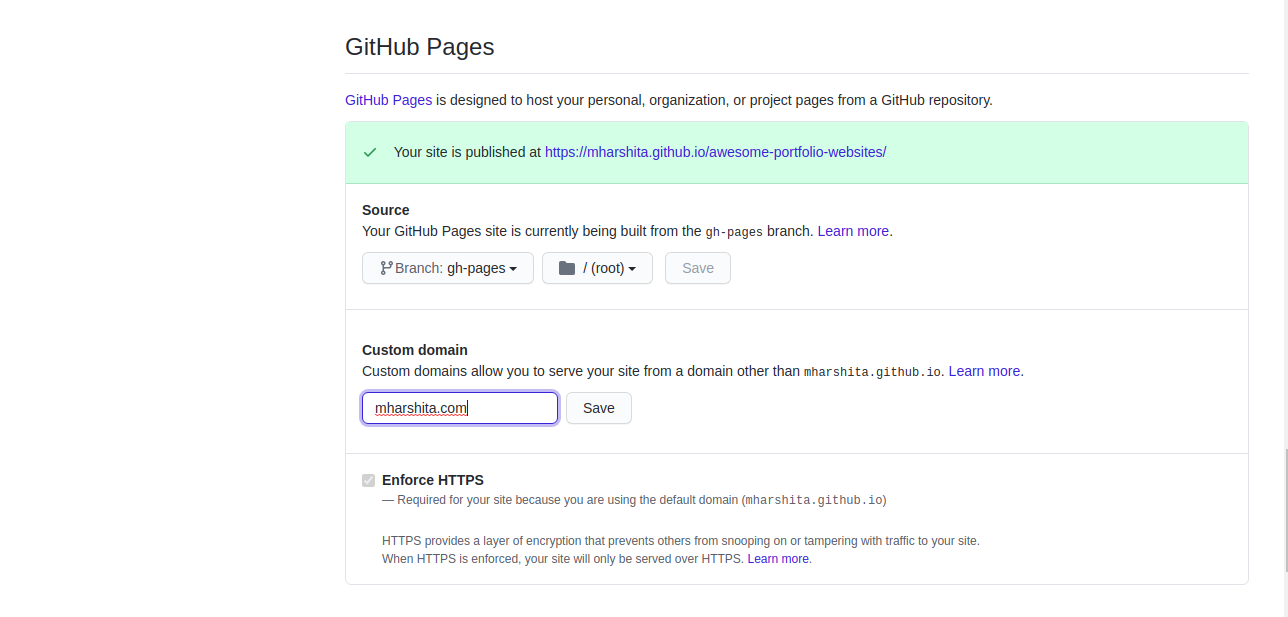
- Open the repository, go to settings under GitHub Pages heading, go to Custom Domain column, set your custom domain for the project (this will create a CNAME file in the same repository. Don't delete it)
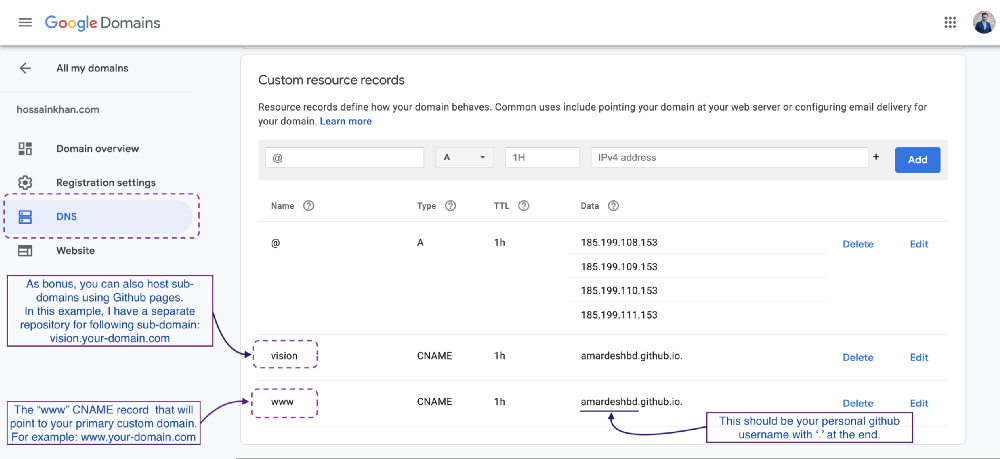
- Set
AandCNAMErecords for the selected domain. ForArecord, set185.199.108.153,185.199.109.153,185.199.110.153and185.199.111.153. To redirectwwwsubdomain to the original domain, add aCNAMErecord with your GitHub pages profile URL with a .(dot) in the end, for example,‘YOUR-GITHUB-USERNAME.github.io.’.
AWS Amplify
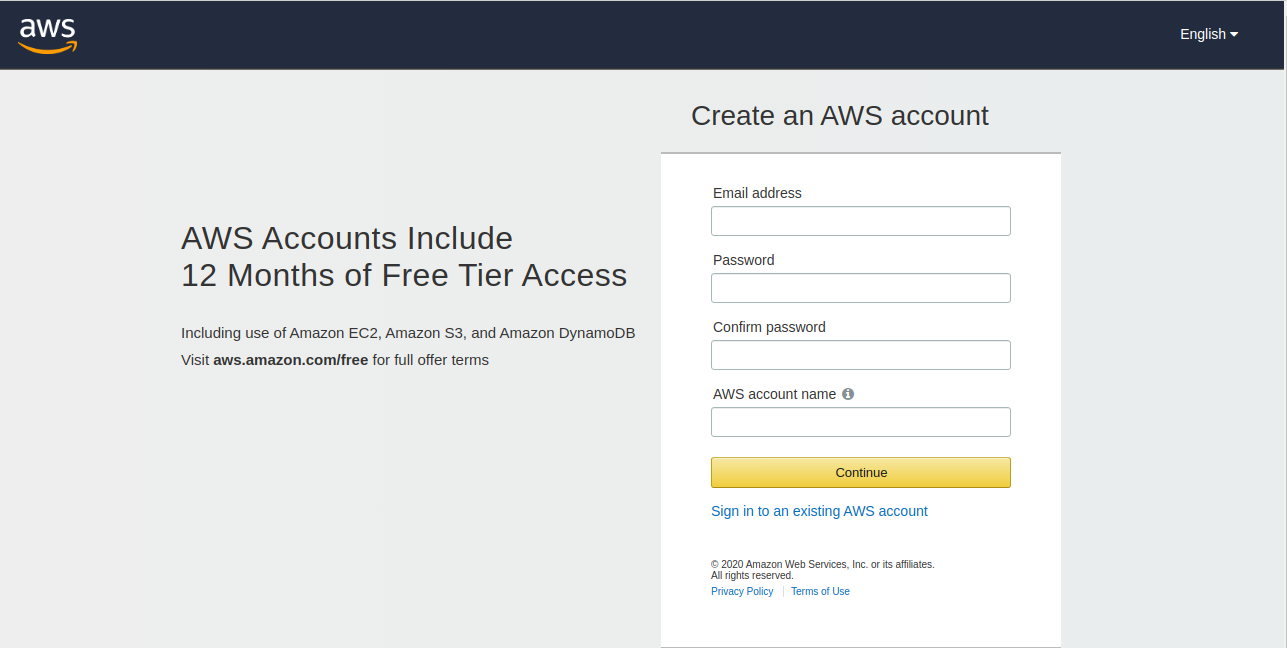
- Sign in to your AWS account or sign up if you don't have one already
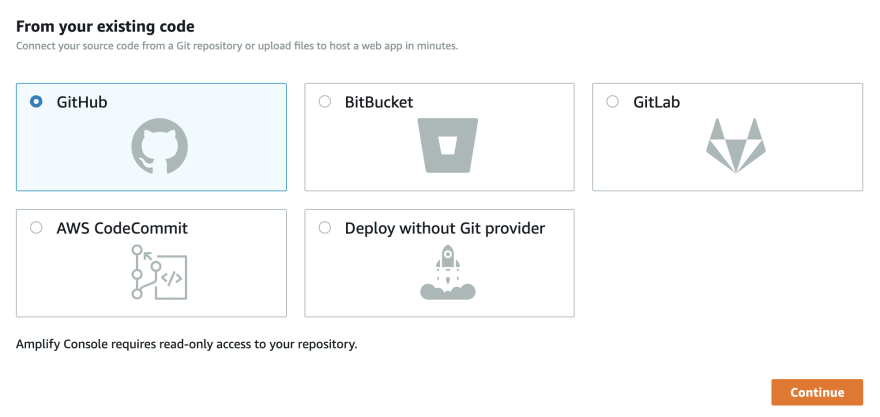
- Select GitHub option to connect to your GitHub Repository and click Continue
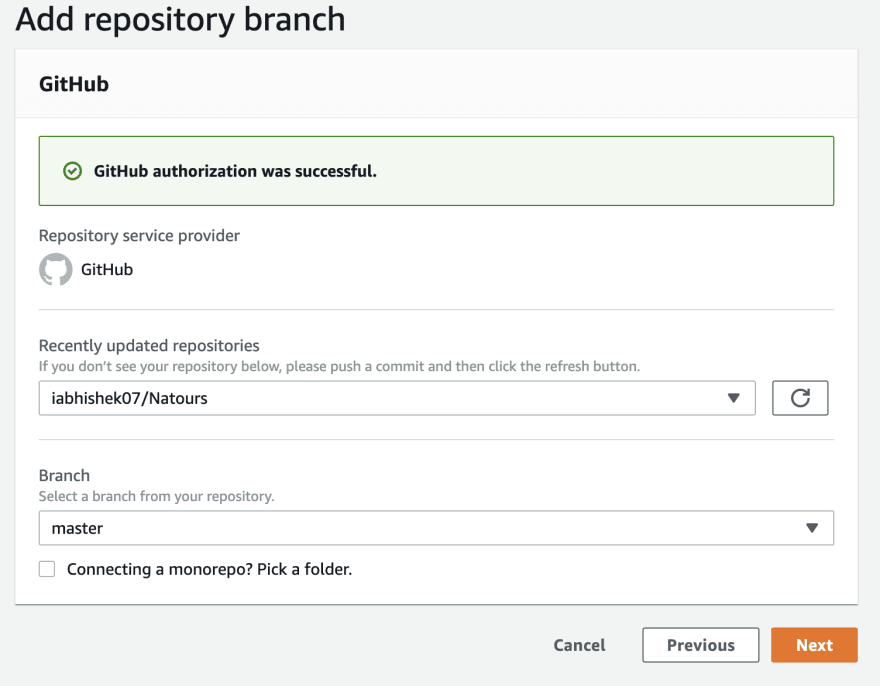
- Add the repository branch

- Configure the build settings and click on Save and Deploy